

 5th June 2012, 19:53
| #556 |
| Distinguished - BHPian  | |

|


| |
|
17th June 2012, 21:03
| #557 |
| Distinguished - BHPian | |
|
|  (1)
Thanks (1)
Thanks
|
 on the four doors (concealing P/W wiring) of my Scorpio.
 )!
)! 


|
5th August 2012, 20:39
| #558 |
| Distinguished - BHPian | |
|
|
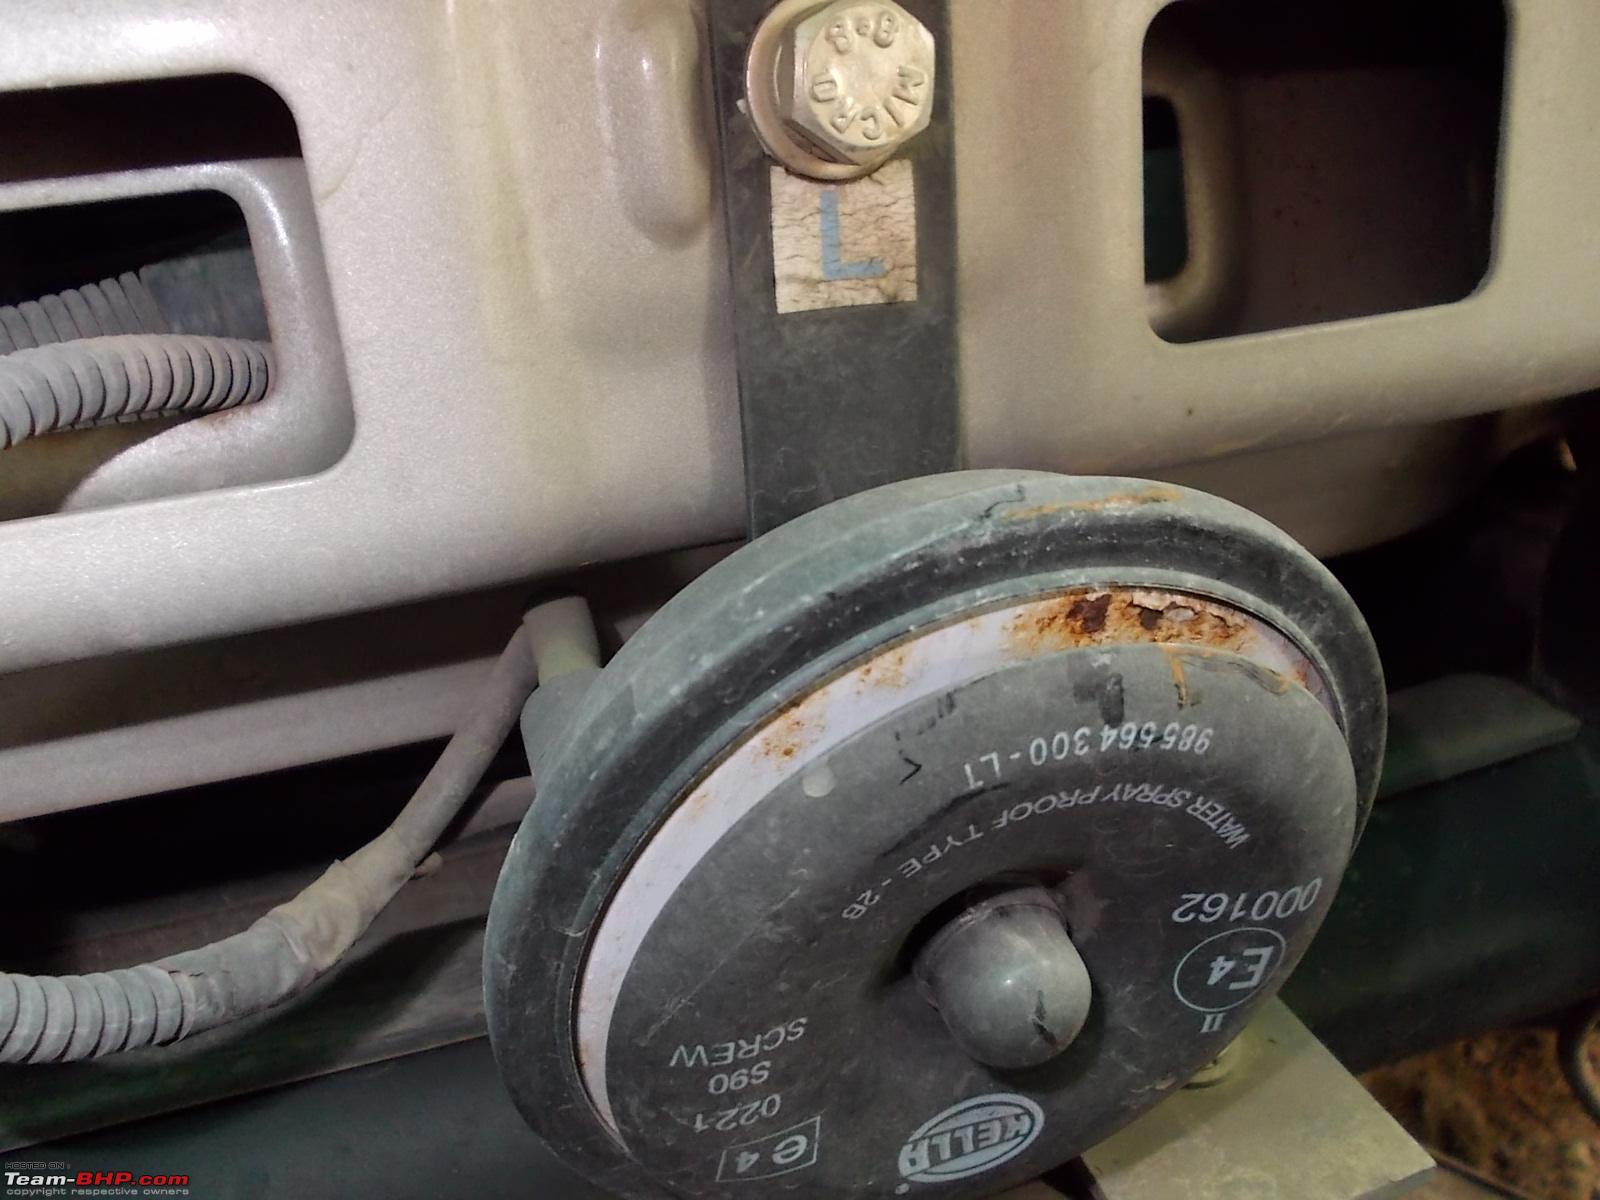
 for M & M. Wish they change over to the old yellow metal that is a better conductor.They may save a few hundred rupees here but reversion to the yellow metal adds class too! I applied petroleum jelly to the terminals as the ASC fellas had'nt done it.


|
30th August 2012, 12:33
| #559 |
| Newbie Join Date: May 2011 Location: Bangalore
Posts: 14
Thanked: 3 Times
| |
|
|
|
30th August 2012, 14:52
| #560 |
| BANNED Join Date: Jun 2009 Location: Bangalore
Posts: 4,287
Thanked: 2,812 Times
| |
|
| (2)
Thanks
|
|
30th August 2012, 20:09
| #561 |
| Distinguished - BHPian | |
|
| (2)
Thanks
|
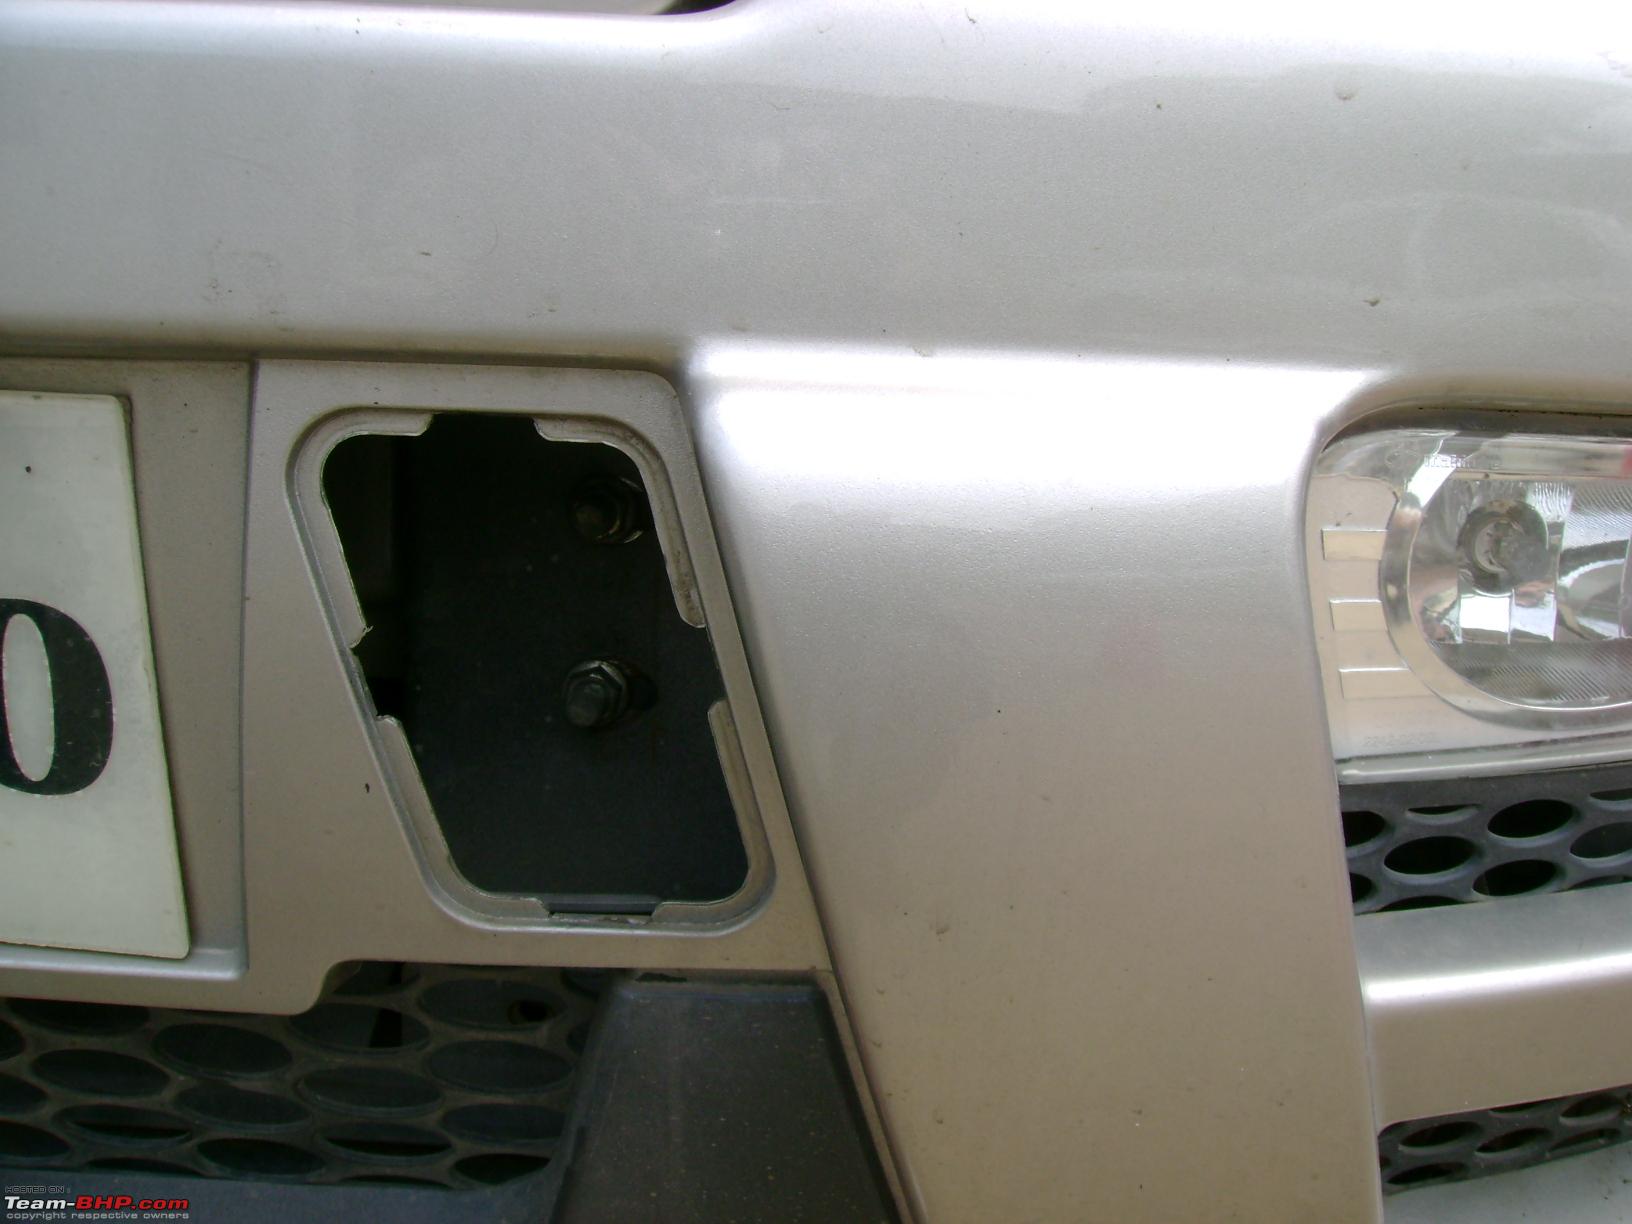
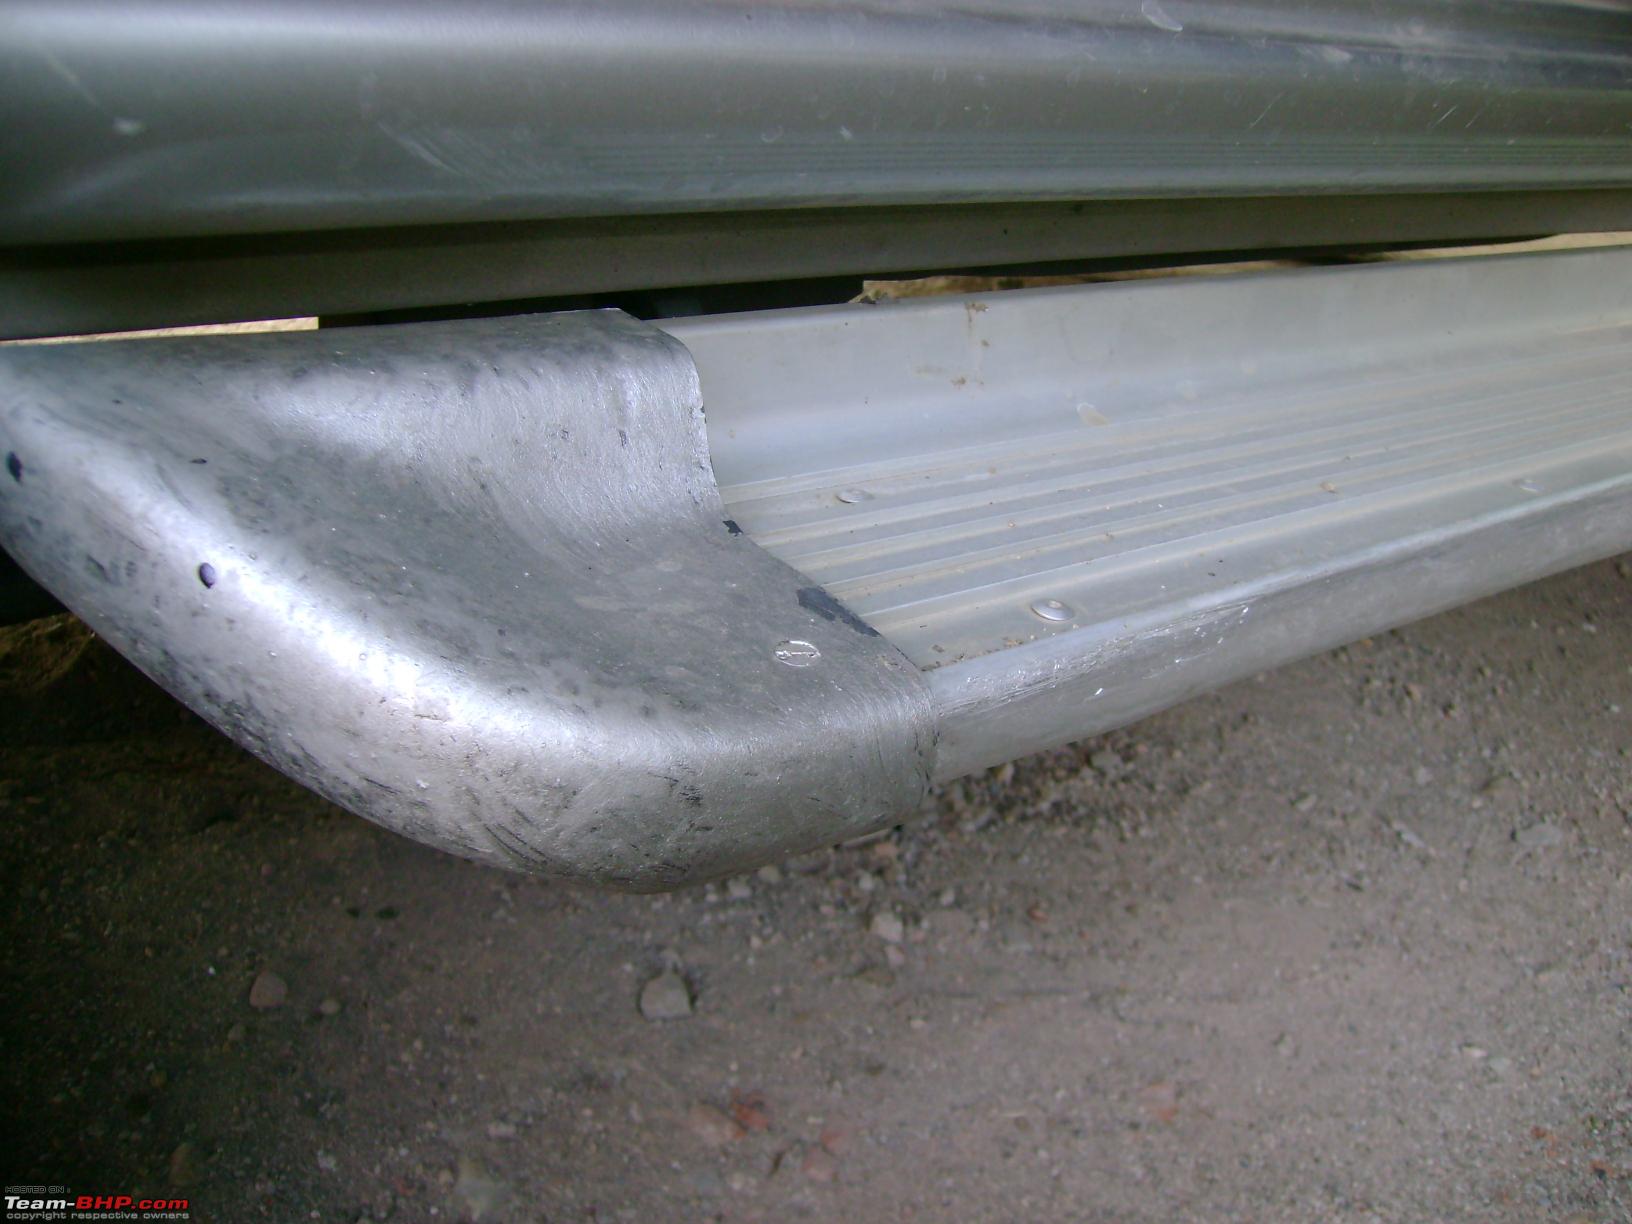
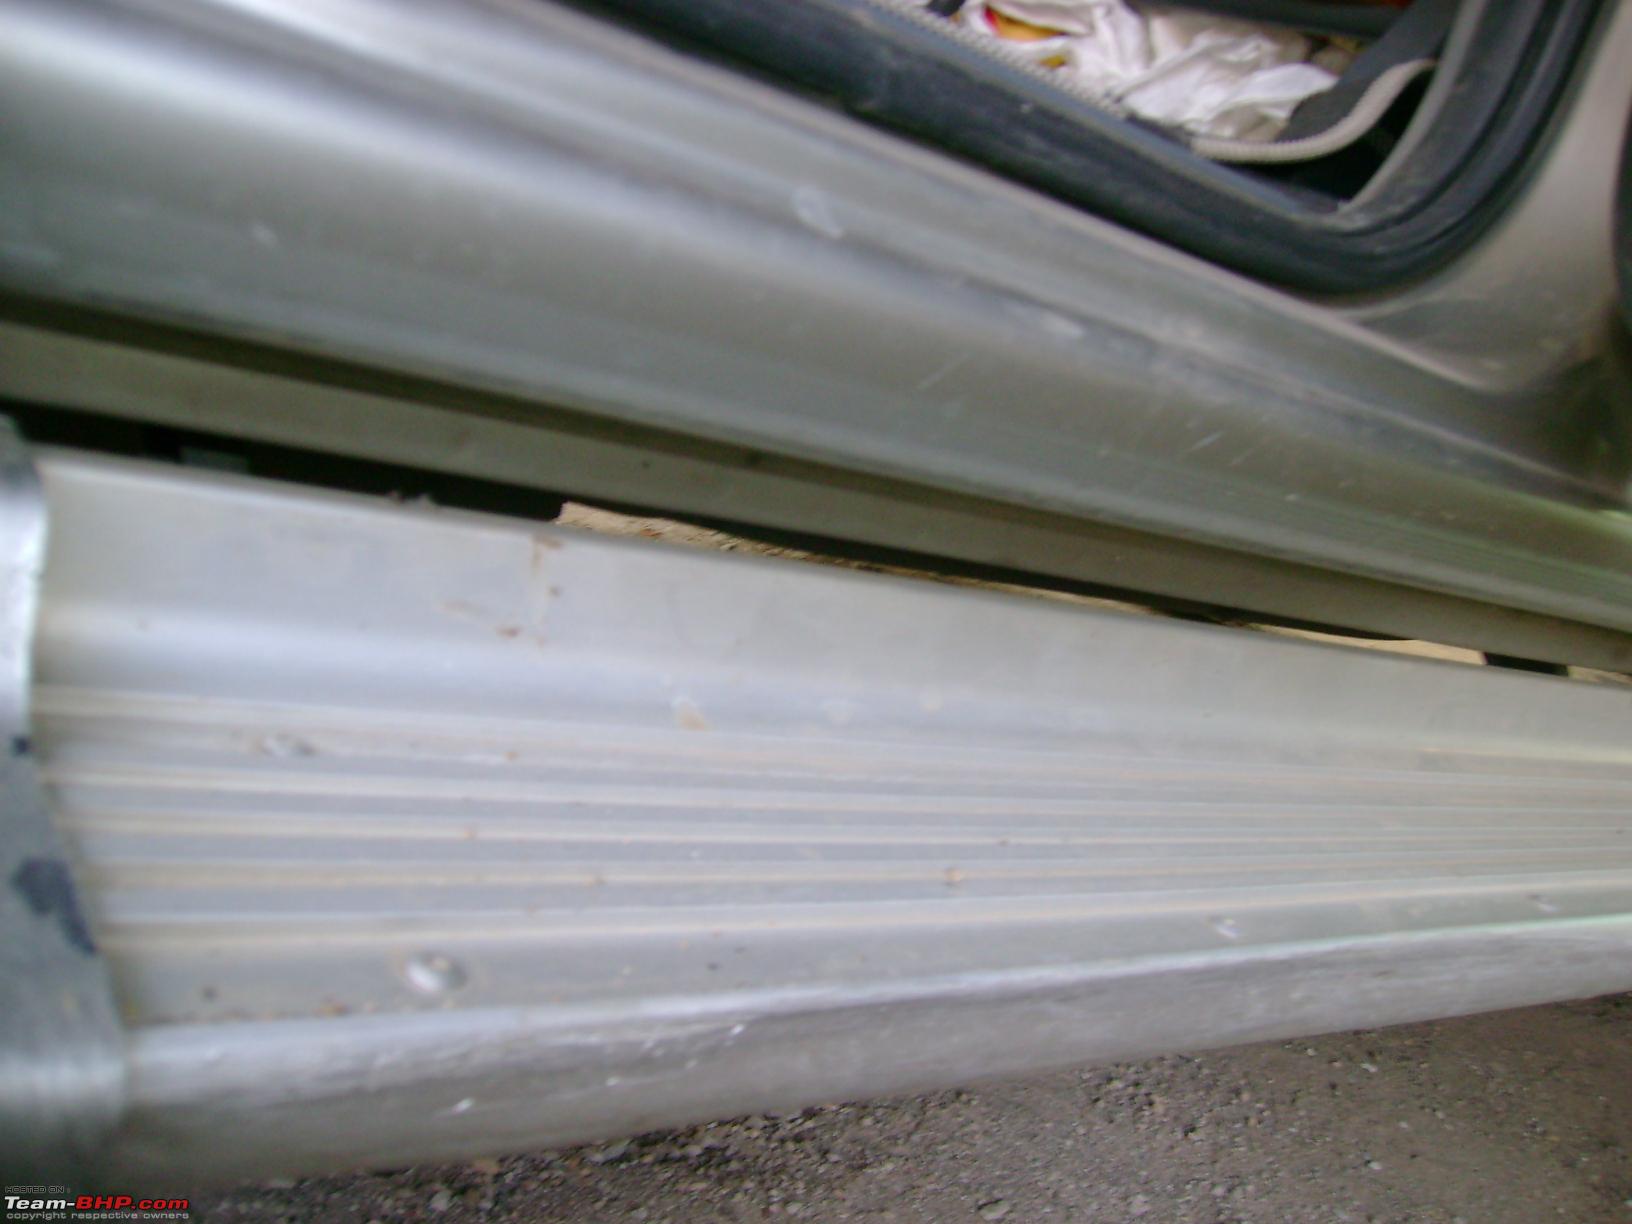
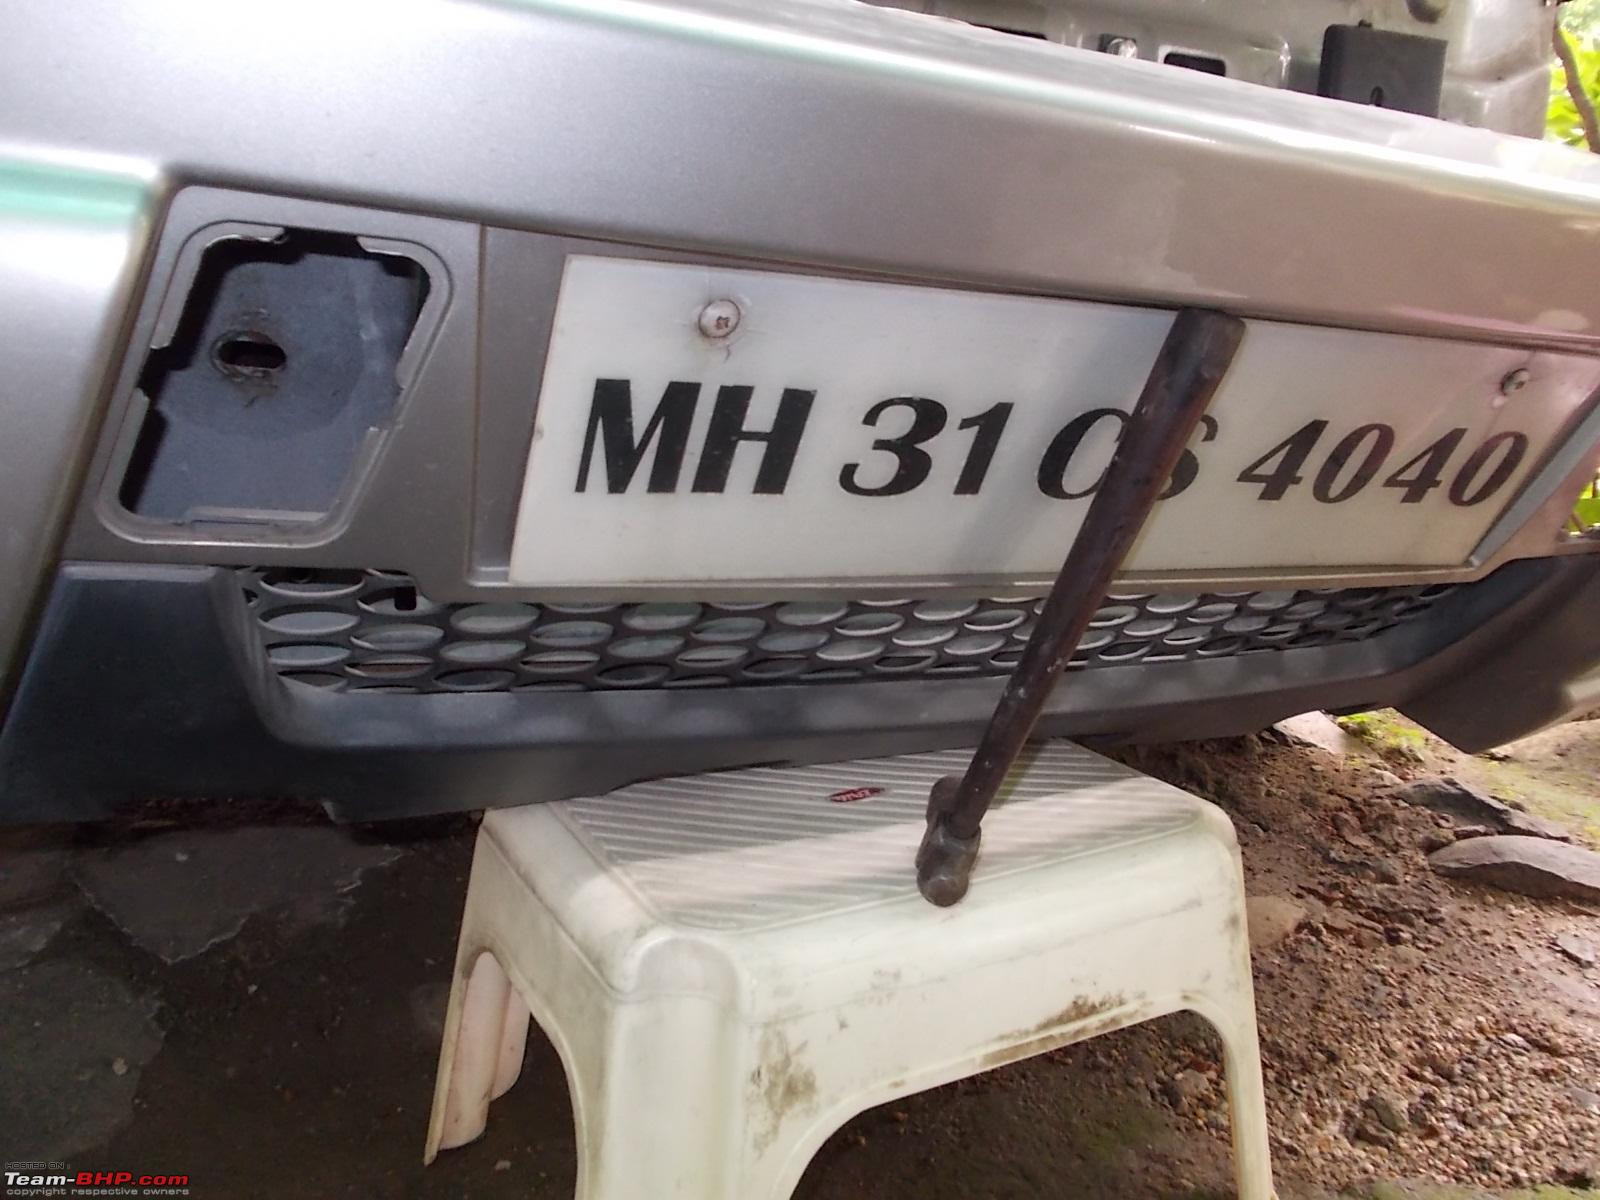
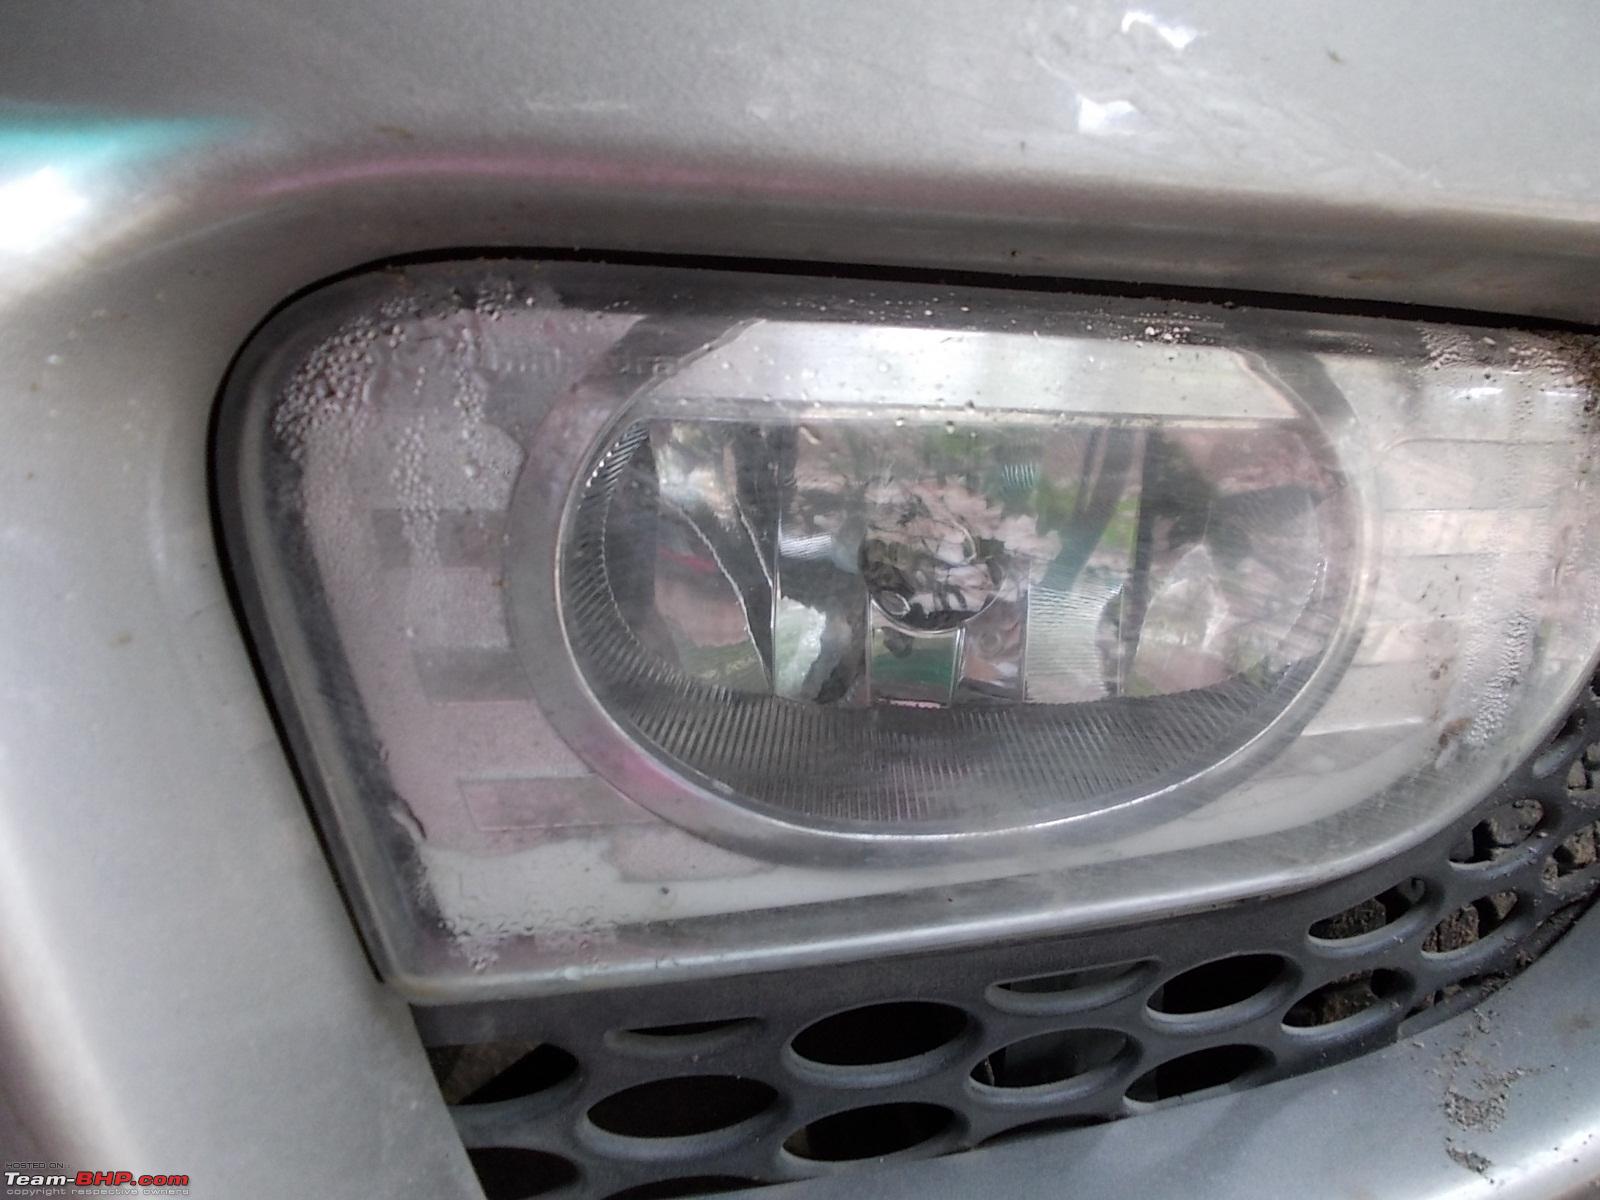
 trying to expose the under body, but the guard below the bumper tried to conceal some of it.

|
9th September 2012, 22:43
| #562 |
| Distinguished - BHPian | |
|
|

|
28th November 2012, 23:03
| #563 |
| Distinguished - BHPian | |
|
|
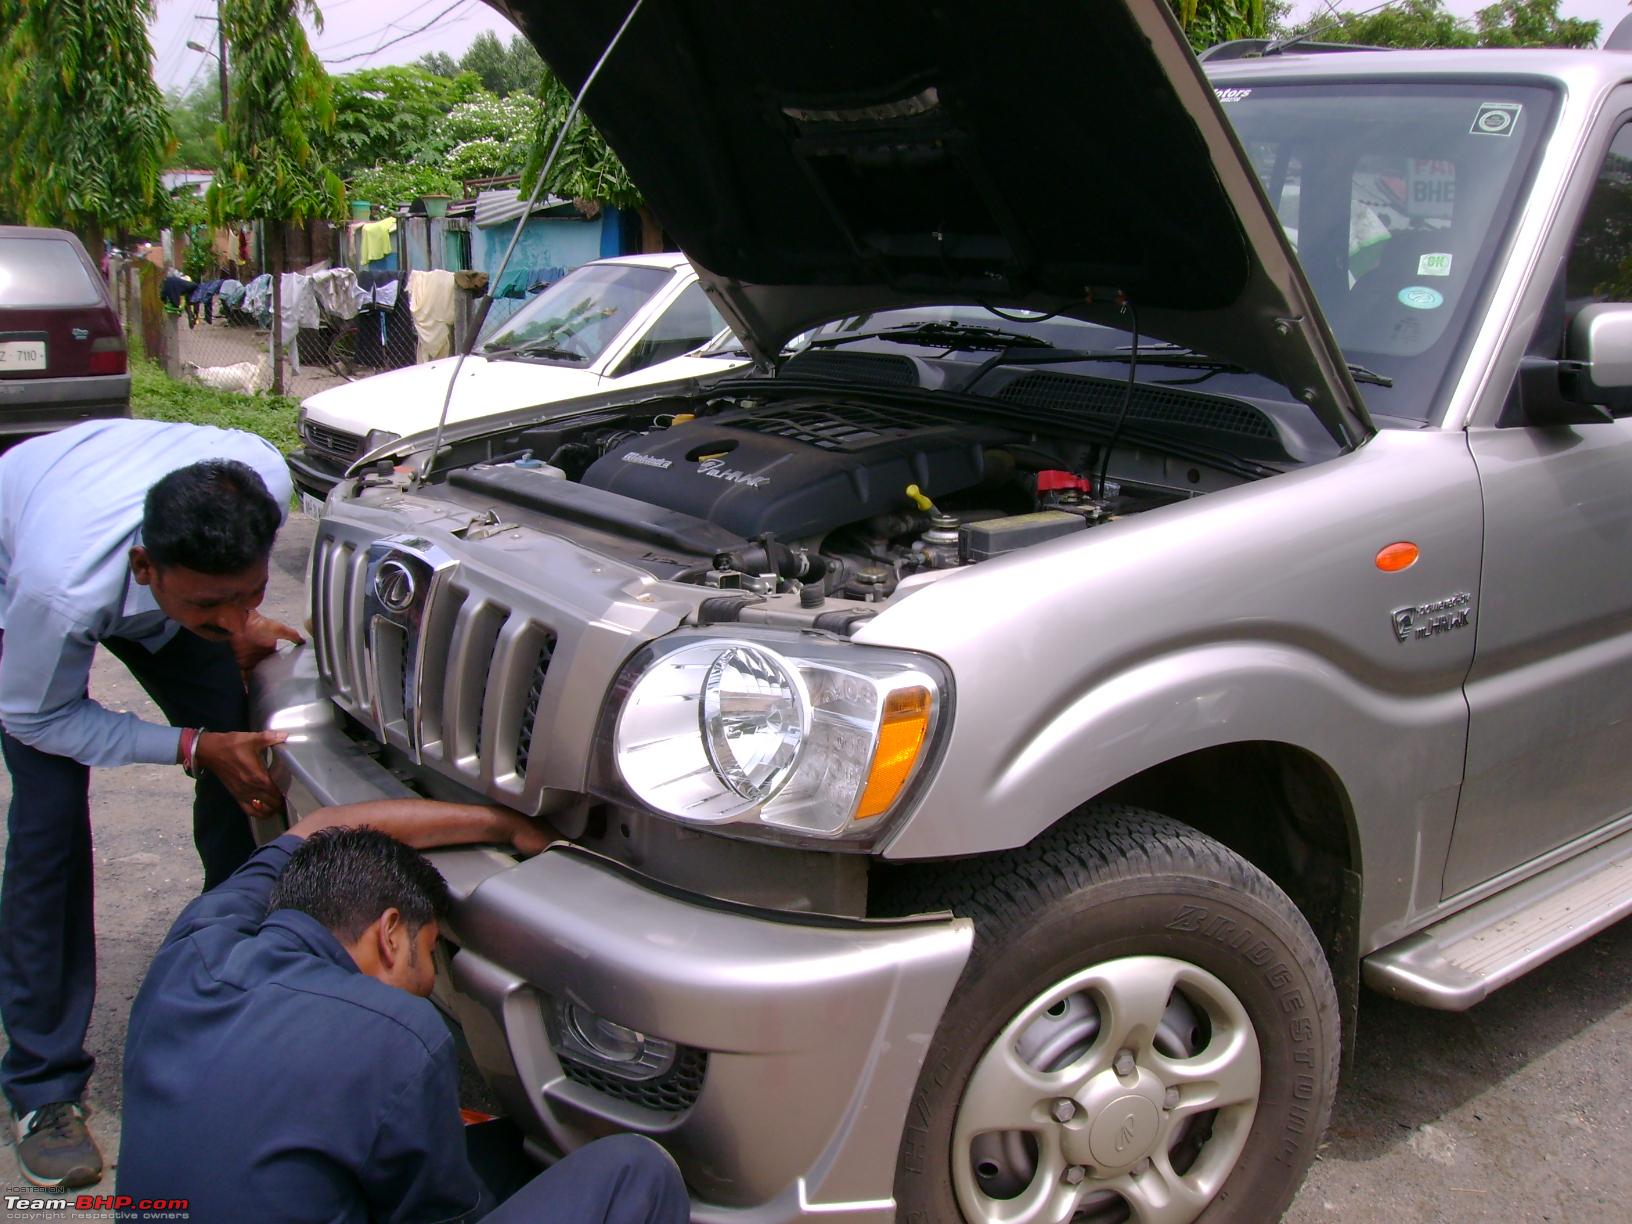
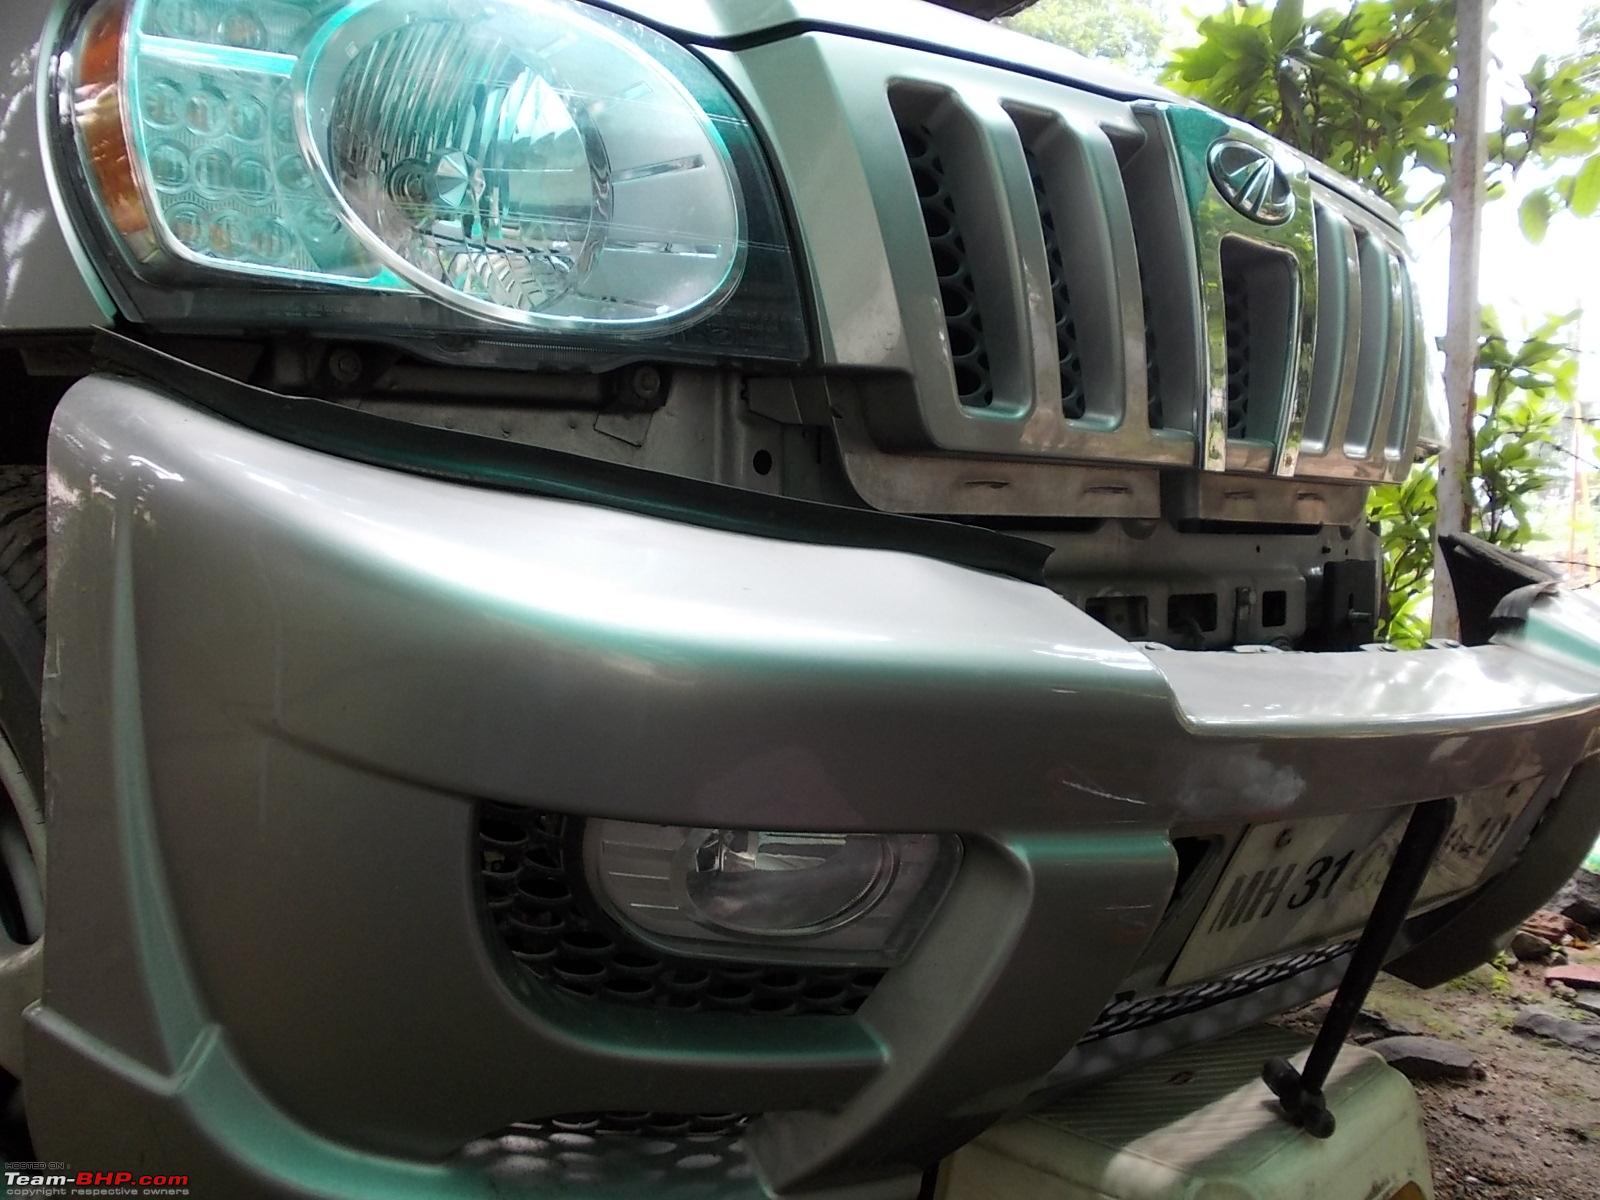
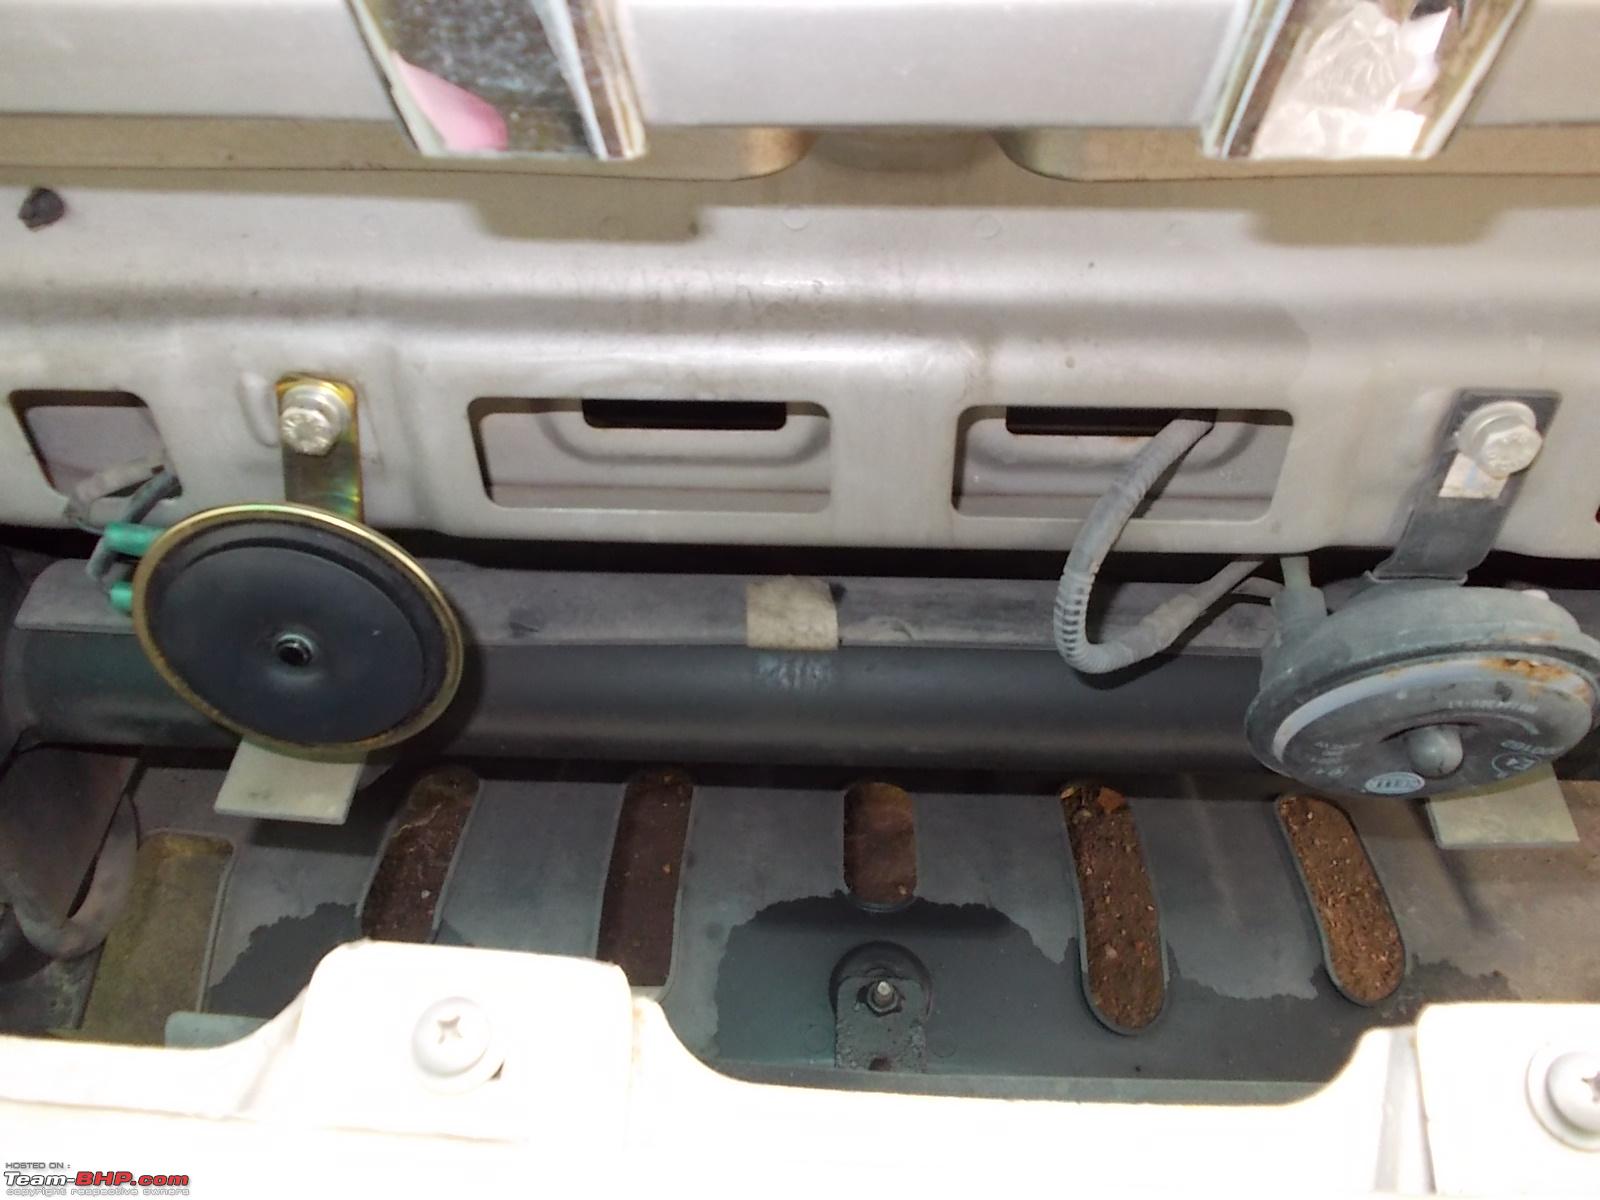
 ). The fault was traced to a "point needs adjustment" in the horn on the driver's side. And after the stepney shock (stepney air checking is extremely tough) this was another one for me. The horns are located between the front bumper and the body's front end. To reach the horns, the front bumper must be dismantled. The workshop (not ASC but my favourite M/S Shree Automobiles, Nagpur) people did the job pretty fast as they are used to doing such jobs all the while.


|
30th November 2012, 22:45
| #564 |
| Distinguished - BHPian | |
|
|
|
22nd May 2013, 11:05
| #565 |
| BHPian Join Date: Jun 2009 Location: KA, TN
Posts: 409
Thanked: 350 Times
| |
|
|
|
22nd May 2013, 15:12
| #566 |
| Distinguished - BHPian | |
|
|
| |
|
15th June 2013, 23:14
| #567 |
| Distinguished - BHPian | |
|
|


|
24th June 2013, 21:04
| #568 |
| Distinguished - BHPian | |
|
|


|
25th August 2013, 21:06
| #569 |
| Distinguished - BHPian | |
|
|


|
12th September 2013, 23:27
| #570 |
| Distinguished - BHPian | |
|
|


 |
Most Viewed