

 20th January 2022, 23:38
| #3766 |
| BHPian Join Date: Oct 2010 Location: Bangalore
Posts: 250
Thanked: 1,092 Times
| |

|  (4)
Thanks (4)
Thanks
|

|
22nd January 2022, 02:29
| #3767 |
| BHPian Join Date: Jan 2020 Location: Palakkad
Posts: 42
Thanked: 75 Times
| |
|
|
|
25th January 2022, 01:22
| #3768 |
| BHPian Join Date: Nov 2021 Location: Bangalore
Posts: 55
Thanked: 148 Times
| |
|
| (6)
Thanks
|


|
25th January 2022, 05:36
| #3769 |
| BHPian Join Date: Jan 2017 Location: -
Posts: 863
Thanked: 2,559 Times
| |
|
| (8)
Thanks
|
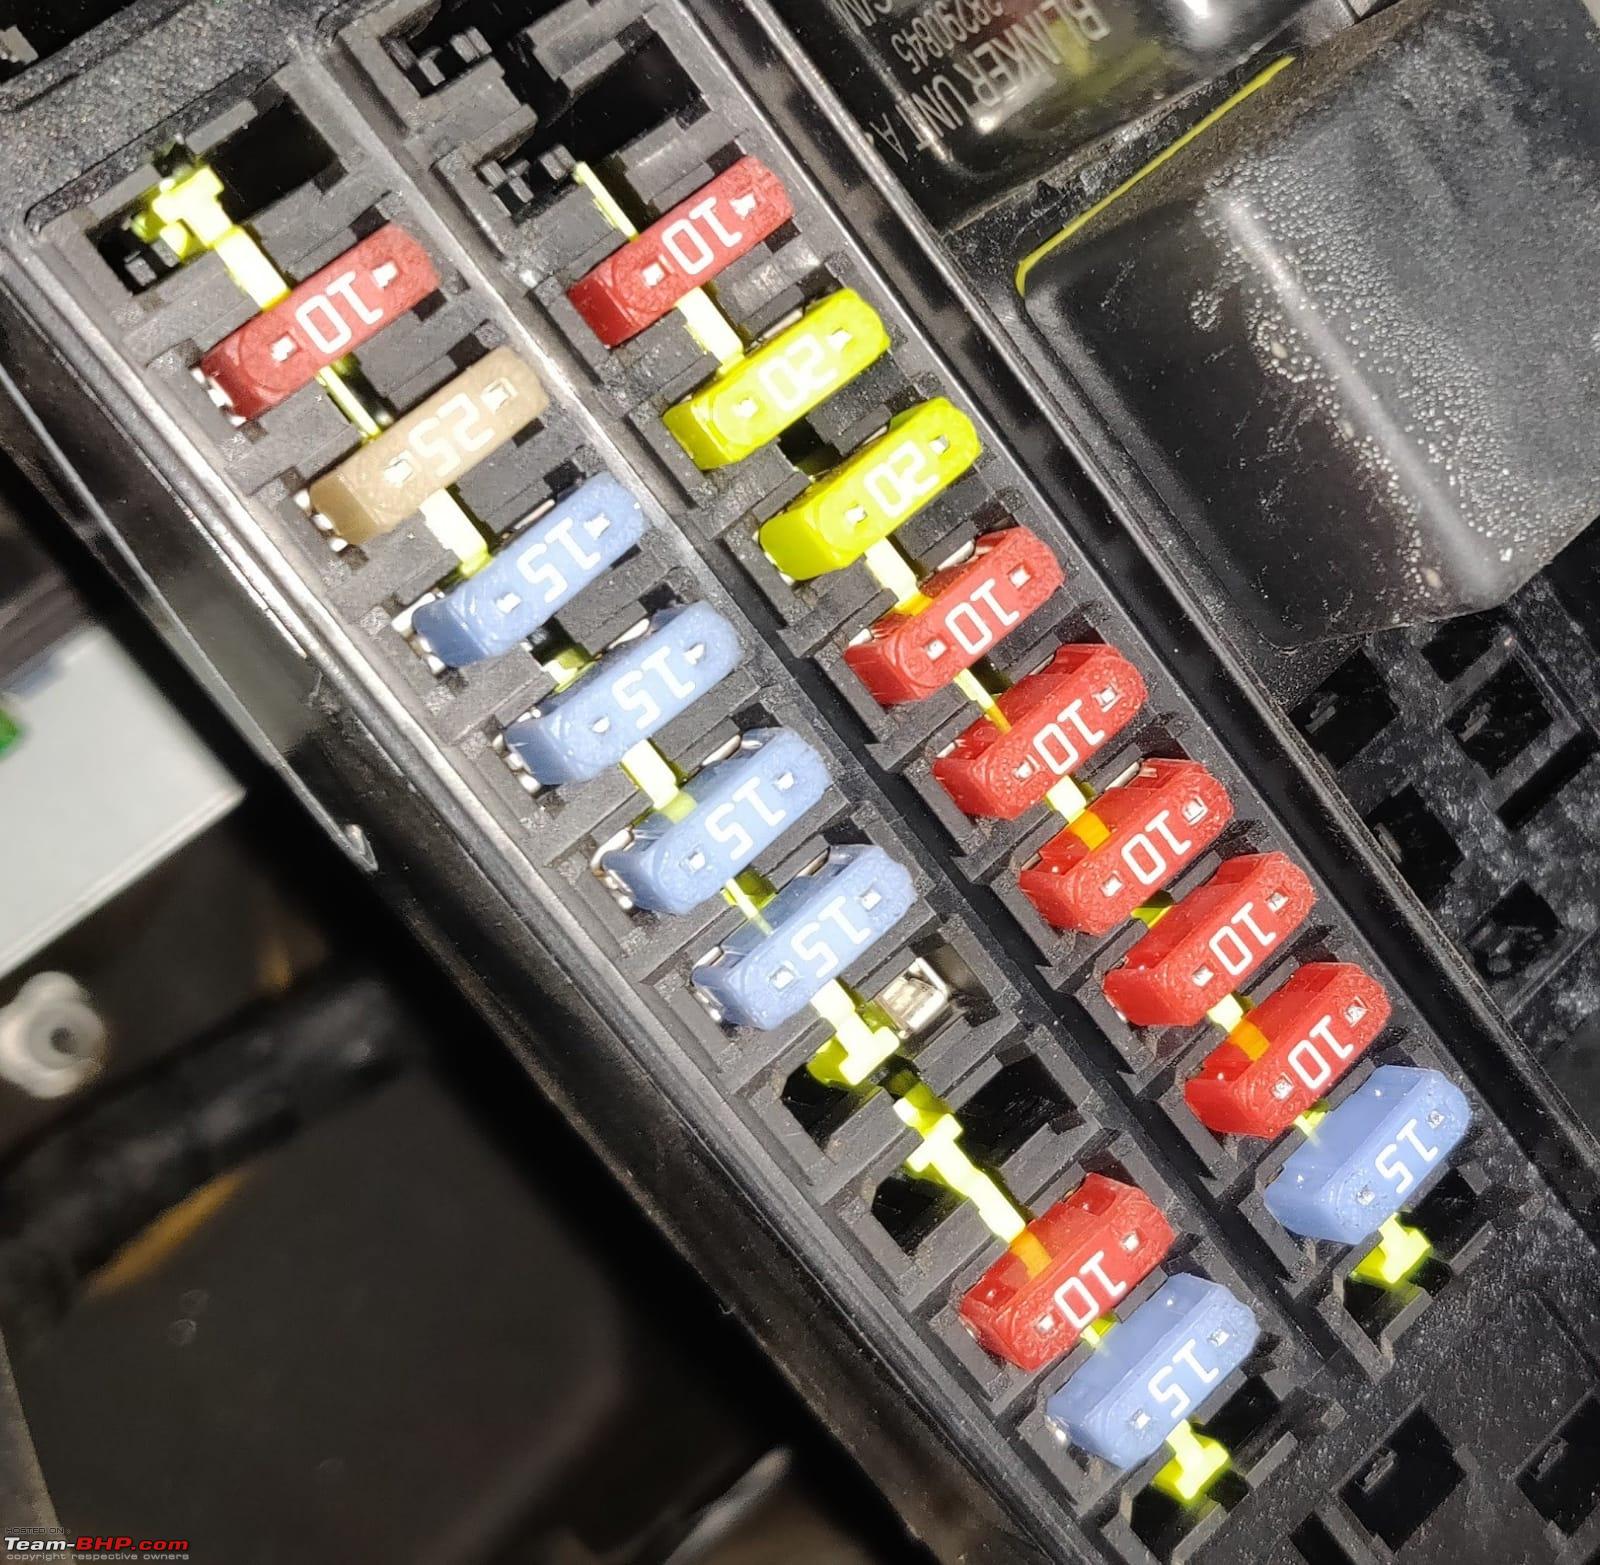
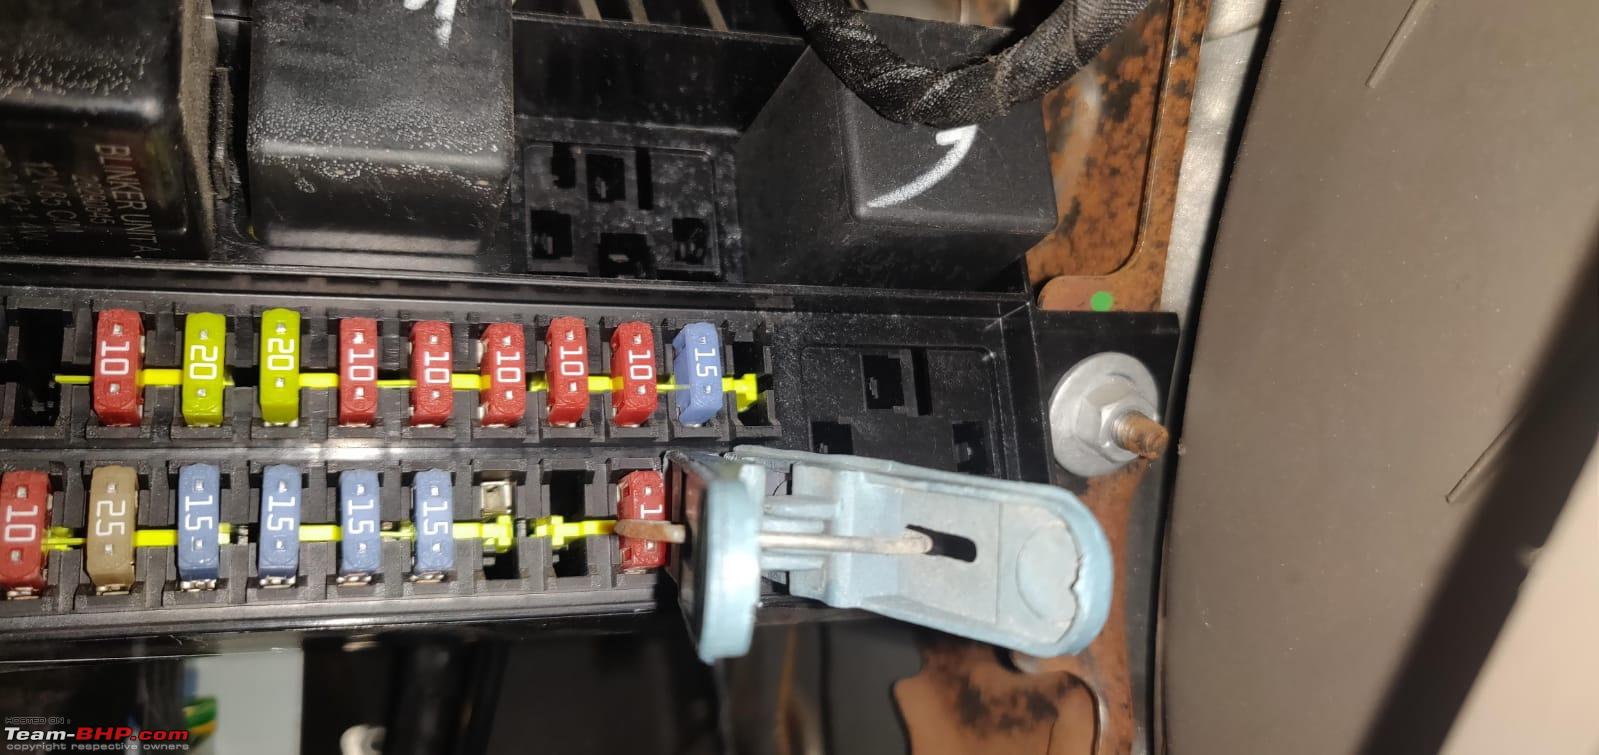
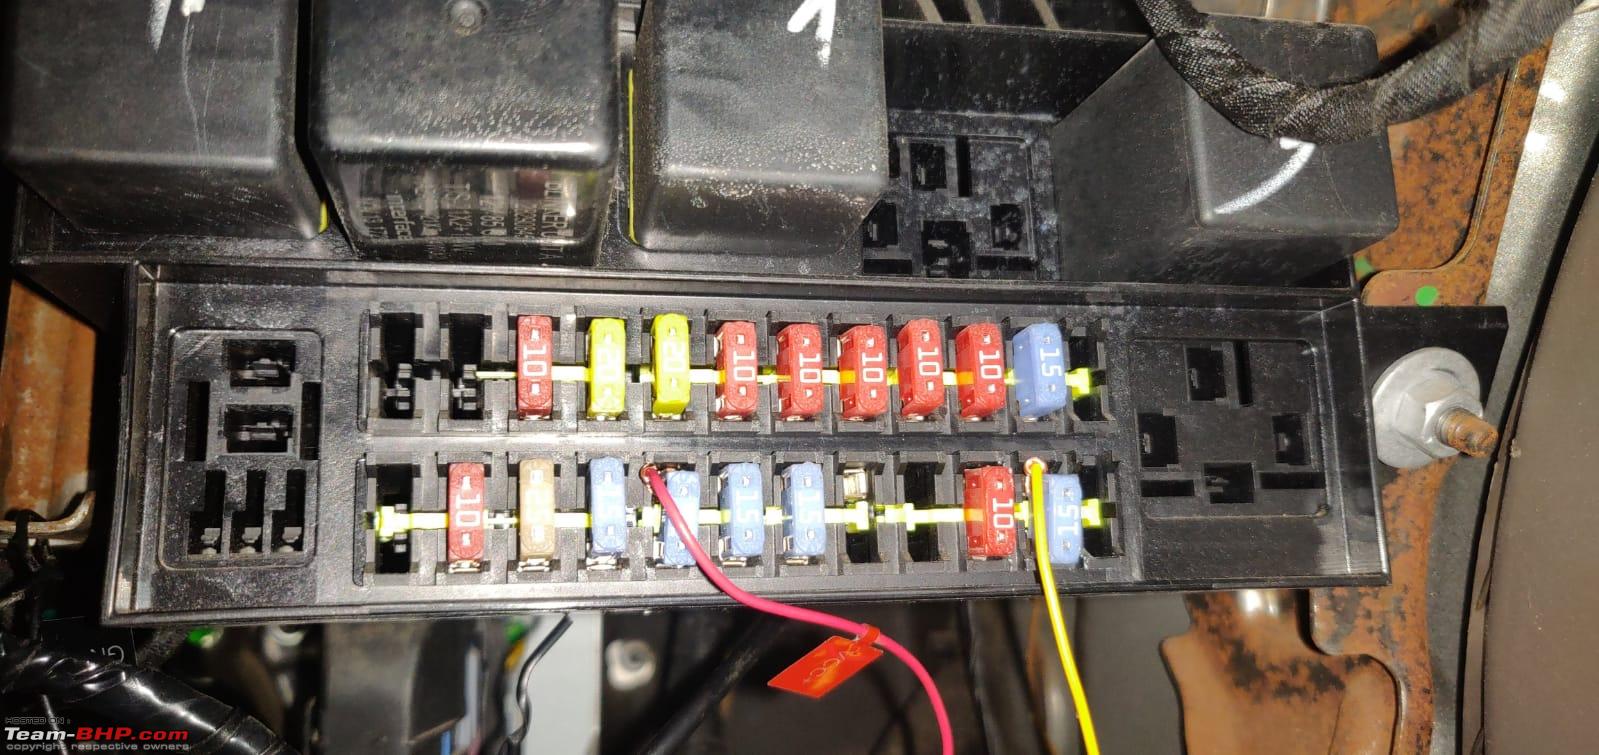
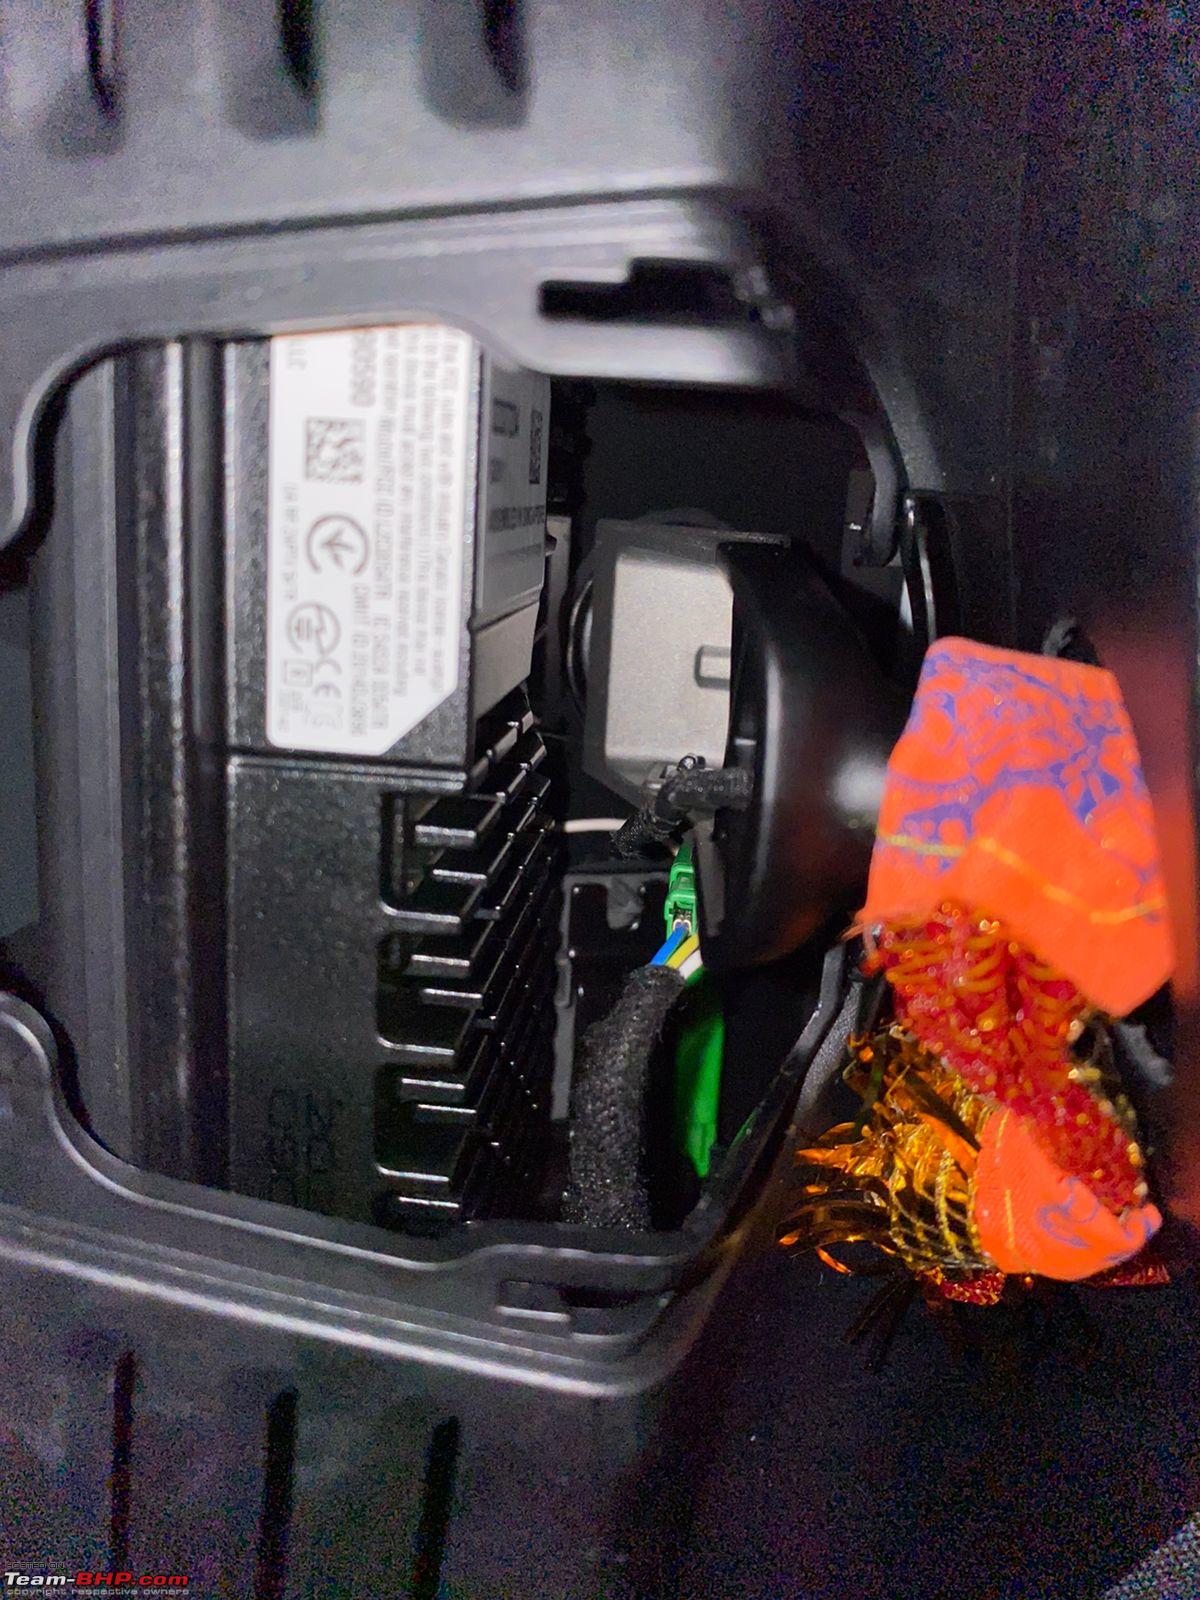
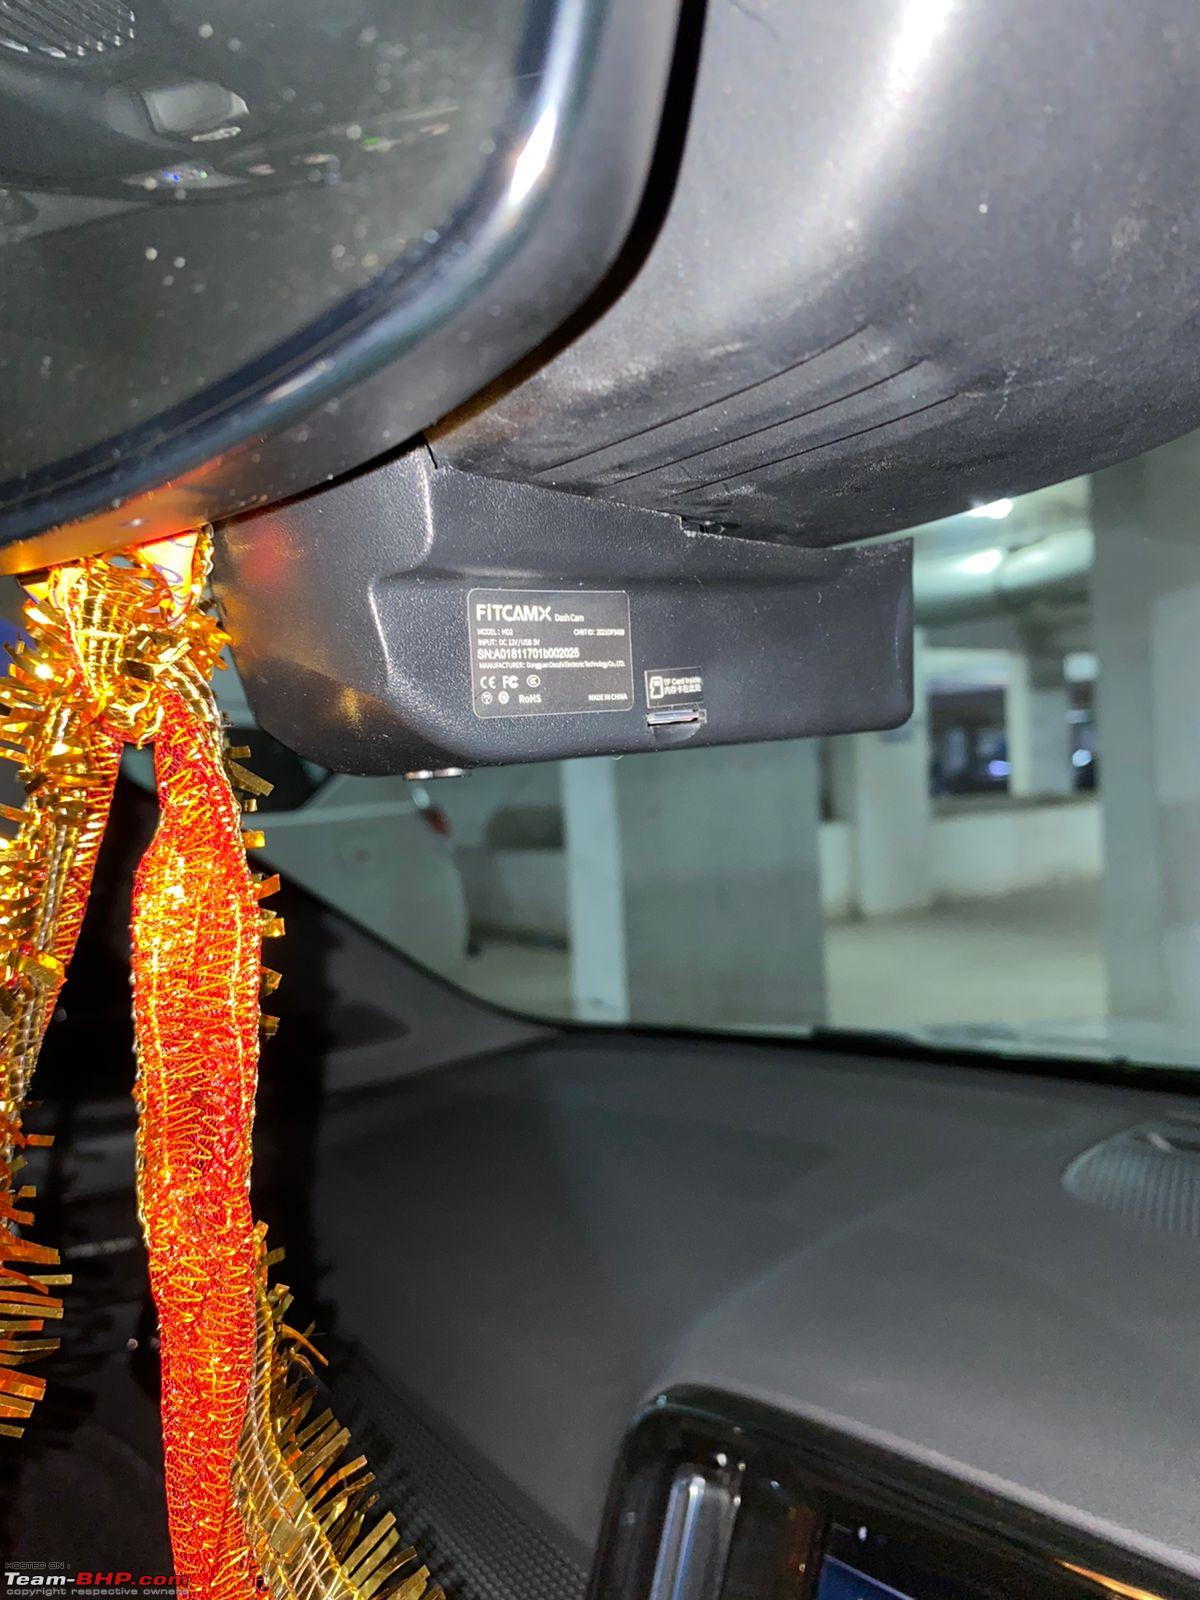
 This is a perfect example of how not to do electrical wiring. This is a fire hazard. Any undulation on road or a good impact will knock these out.
 |
25th January 2022, 09:59
| #3770 |
| BHPian Join Date: Nov 2021 Location: Bangalore
Posts: 55
Thanked: 148 Times
| |
|
| (2)
Thanks
|

|
25th January 2022, 10:54
| #3771 |
| BHPian Join Date: Dec 2009 Location: Puttur
Posts: 337
Thanked: 206 Times
| |
|
|
|
27th January 2022, 10:36
| #3772 |
| BHPian Join Date: Nov 2021 Location: Bangalore
Posts: 55
Thanked: 148 Times
| |
|
| (2)
Thanks
|
|
29th January 2022, 15:25
| #3773 |
| BHPian Join Date: Aug 2021 Location: Hyderabad
Posts: 67
Thanked: 526 Times
| |
|
| (2)
Thanks
|


|
1st February 2022, 18:37
| #3774 |
| BHPian Join Date: Jun 2008 Location: BLR/EWR
Posts: 848
Thanked: 431 Times
| |
|
|
|
1st February 2022, 18:49
| #3775 |
| BHPian Join Date: Sep 2020 Location: Jharkhand.
Posts: 157
Thanked: 388 Times
| |
|
| (3)
Thanks
|
|
2nd February 2022, 17:31
| #3776 |
| BHPian | |
|
| (2)
Thanks
|
| |
|
2nd February 2022, 18:04
| #3777 |
| BHPian Join Date: Jun 2014 Location: Mumbai
Posts: 461
Thanked: 987 Times
| |
|
|
|
2nd February 2022, 18:35
| #3778 |
| Senior - BHPian Join Date: Dec 2008 Location: Bangalore
Posts: 3,843
Thanked: 6,158 Times
| |

| (1)
Thanks
|
|
2nd February 2022, 22:50
| #3779 |
| Senior - BHPian Join Date: Jan 2016 Location: Bengaluru
Posts: 1,175
Thanked: 3,496 Times
| |
|
| (1)
Thanks
|
|
3rd February 2022, 16:42
| #3780 |
| BHPian Join Date: Mar 2011 Location: Blr/Hyd
Posts: 403
Thanked: 550 Times
| |
|
|
 |
Most Viewed